How to Set up the Integration with Google Ads
What is it?
It is the tool that enables using the Google machine training methods to improve advertising campaigns to direct the traffic to numerous CityAds offers. In this way, you are able to bring a higher-quality traffic, increase conversions and multiply your commissions from advertisers.
How does it work?
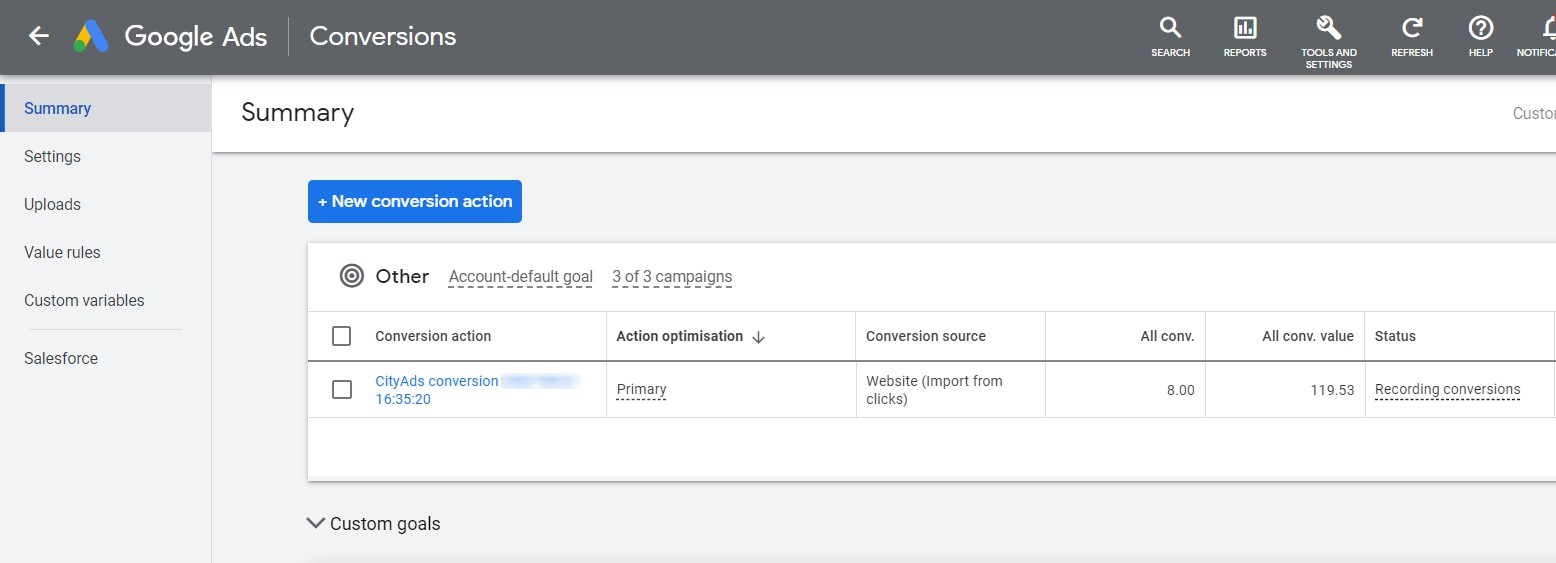
During the integration with Google Ads, all of your conversions with CityAds are imported to your Google Ads account. As soon as sufficient data is gained you will be able to connect the Google Ads automatic strategies, for cost engineering and increased conversions.
How can it be set up?
Step 1.
Do not forget to turn on the parallel traffic tracking for correct operation of partner links from Google Ads, here you can find a detailed description of how you can do that.
There are two locations from which you can use this instrument:
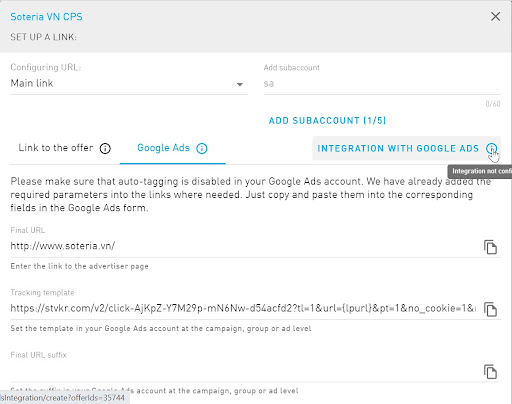
- A card with a particular offer (the offer with the permitted type of the “contextual advertising” traffic is necessary).
- Google Ads integration is in the instruments bookmark. The entire Google Ads integration process is similar, but there is a minor difference in the beginning. In the first scenario, you should click on the Integration with Google Ads button.
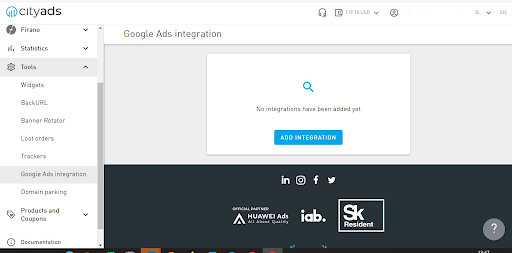
If you would like to set up the Google Ads integration from the instrument you should go to the Instruments bookmark and select the Google Ads Integration, and then the path is the same.
You will be directed to the integration setup page:
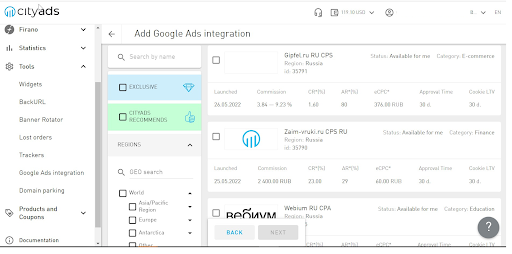
Step 2.
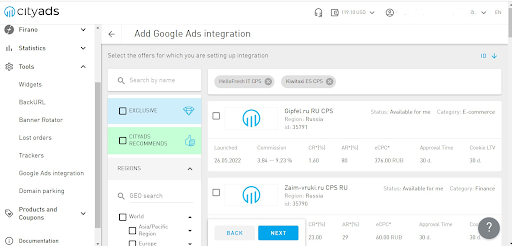
By clicking on the Add Integration button you will get to the page where you can select offers for integration setup. If you came from the offer card then the offer you began the integration with will be on top. But you can set up integration in other offers, too. For that purpose, check off the ones you need:
After you have added the offers you need the button will flash, and all selected offers will be shown on top, above the list:
Step 3.
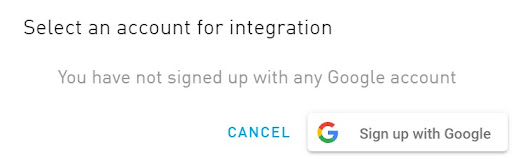
When you click on the Continue button in the left-hand lower corner you get to the Google account selection window. You can choose one of the Google accounts you have already logged in to or add a new one.
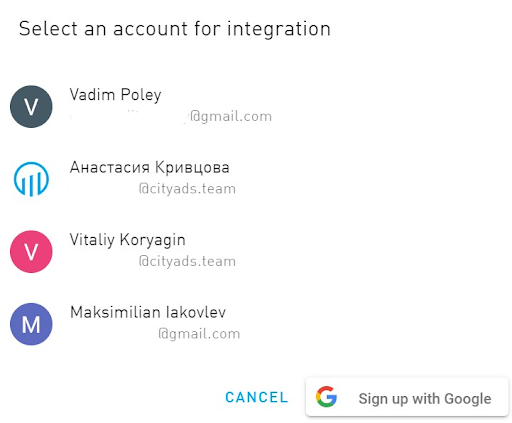
If the integration with any account has already been set up you will see the account selection confirmation window or you can add a new one. To unpeg the unnecessary accounts click on the bin sign near them:
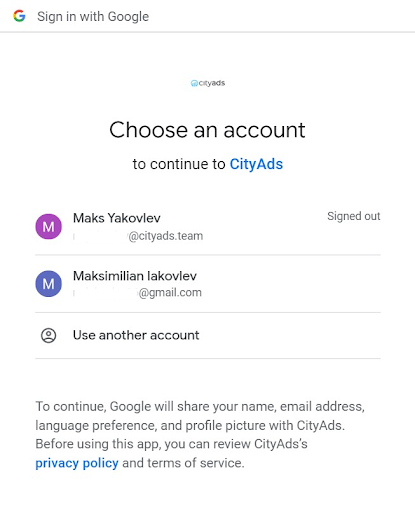
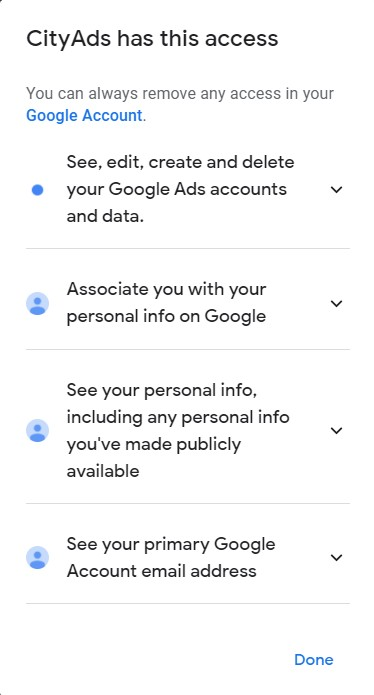
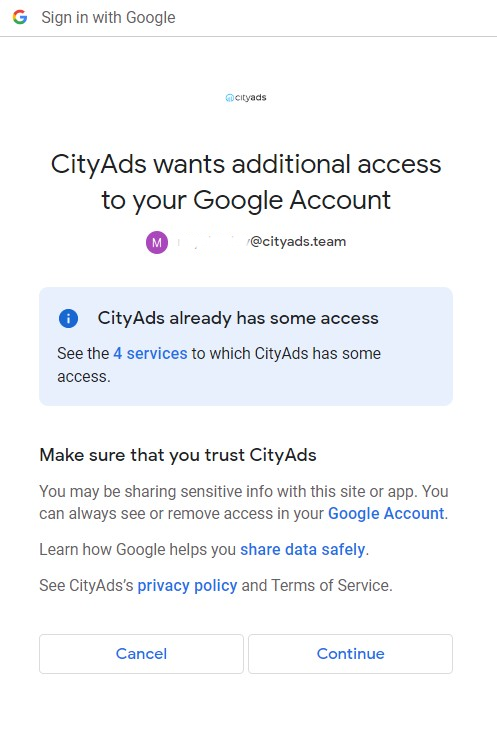
If you want to add a new account you should pass the standard login path to the Google account and provide the necessary accesses:
If you are already authorized in the Google Ads accounts, the list of earlier used Google Ads accounts (with mail, name and avatar) and the Add a New Google Account button appear. This window opens up as soon as you select an earlier used account:
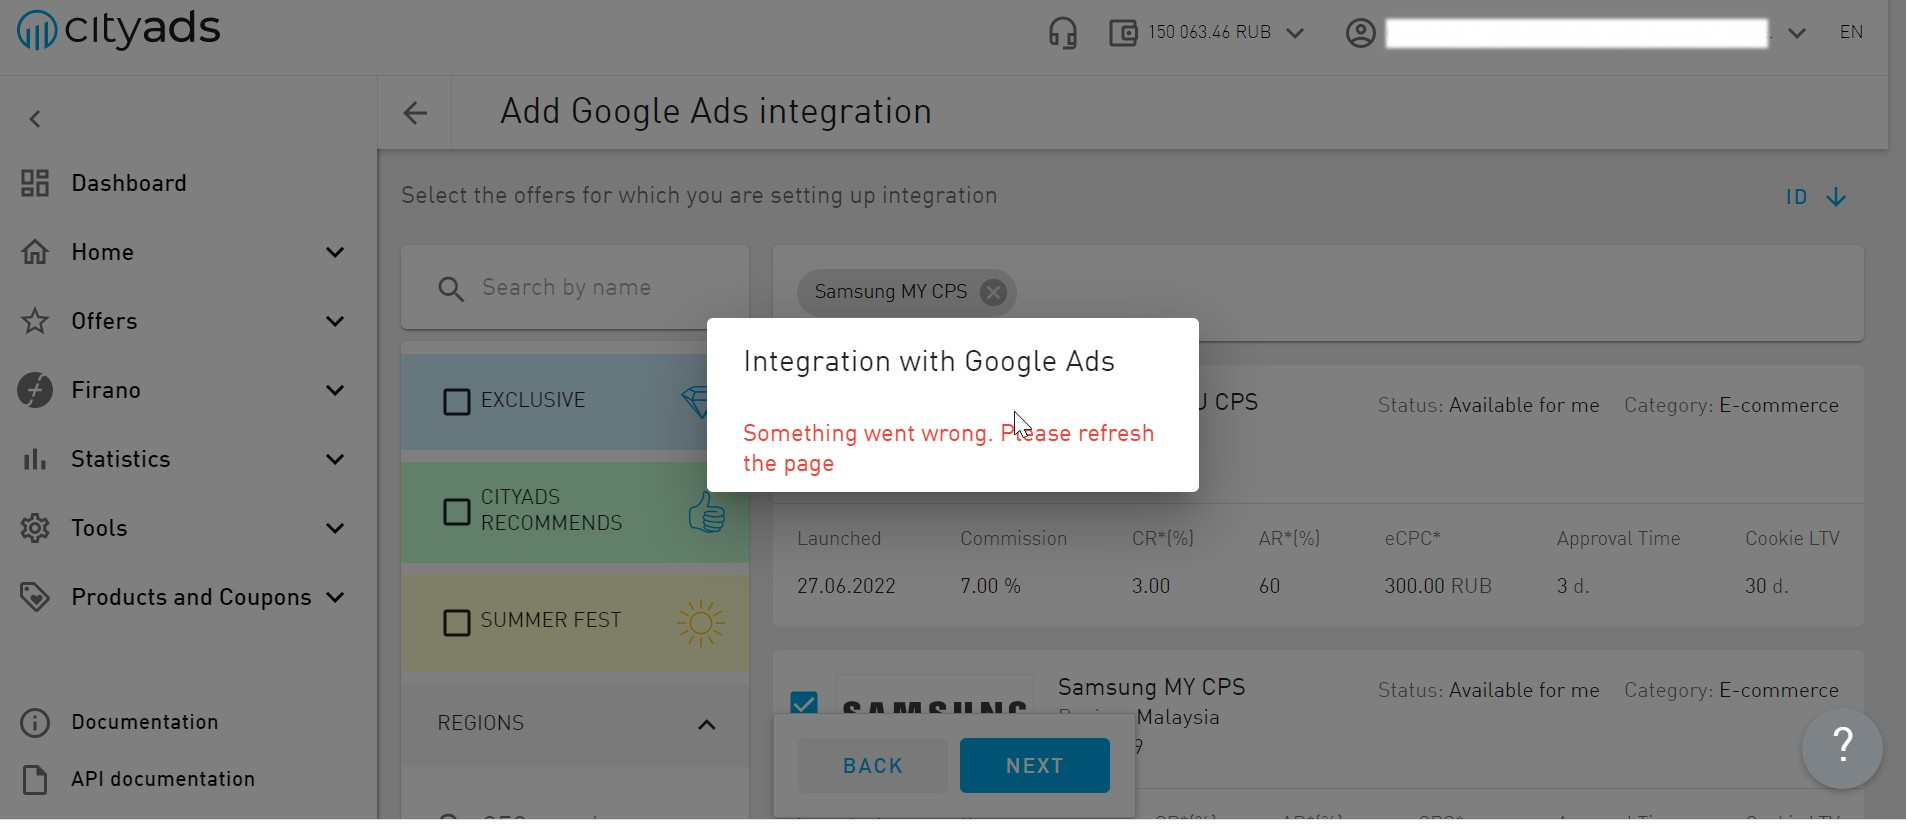
If the integration is not completed for any reason at once you receive an error message:
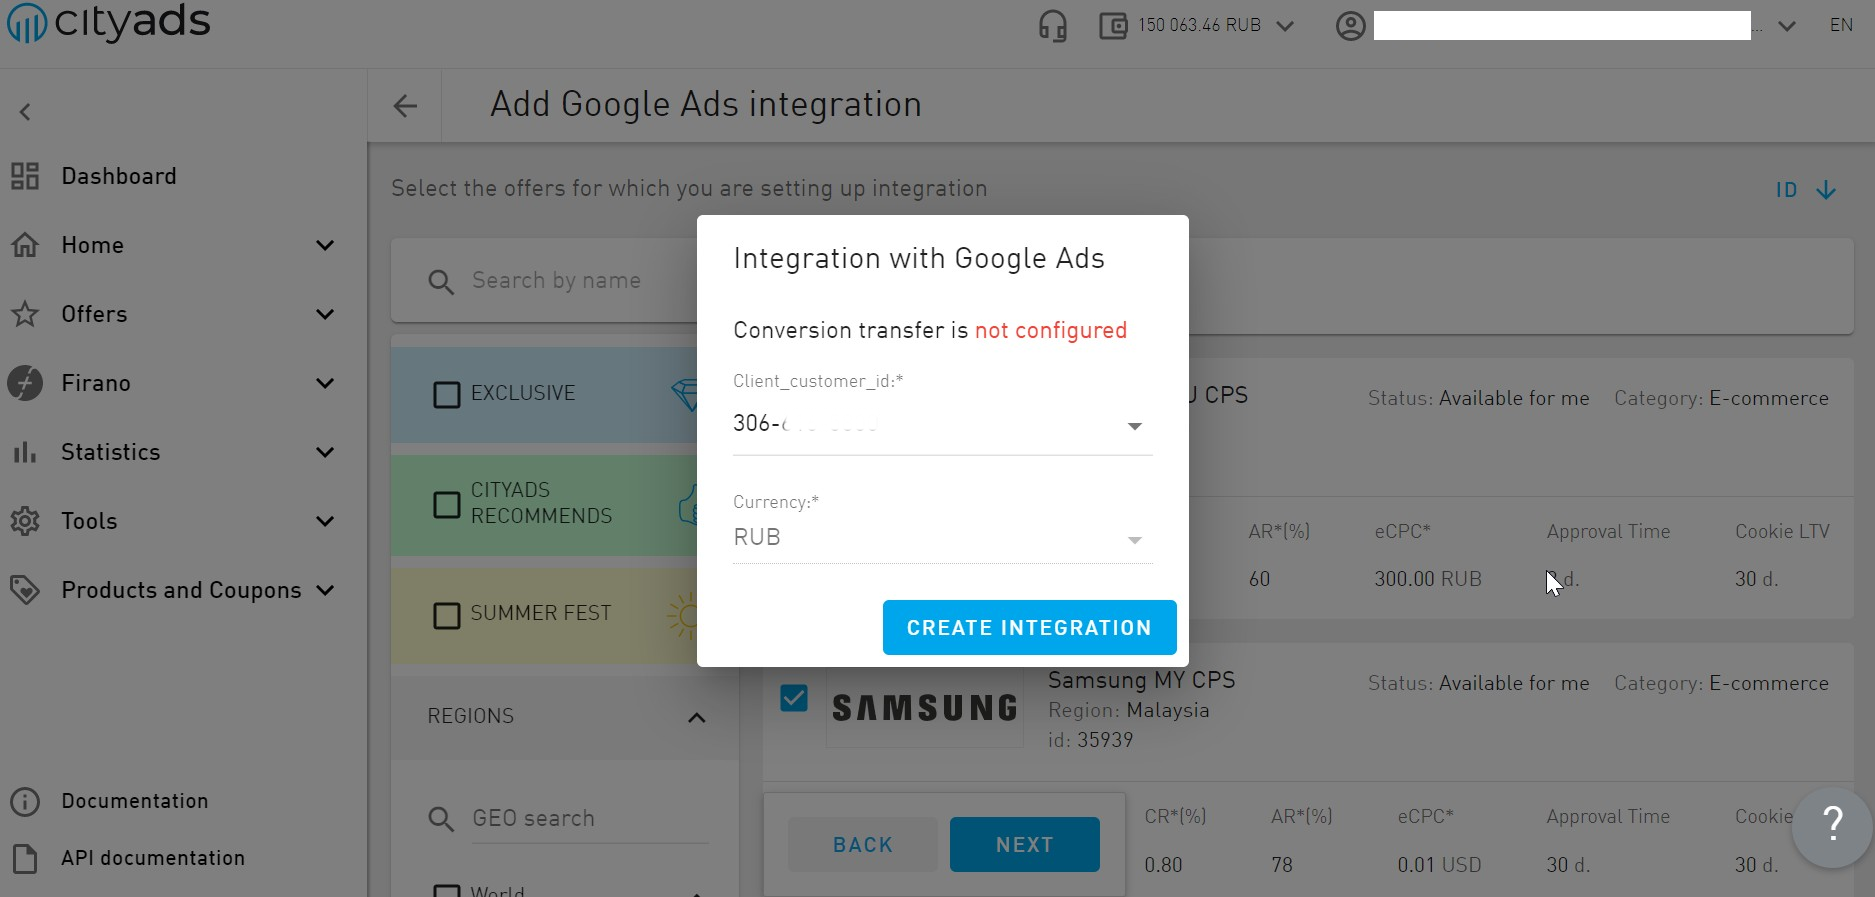
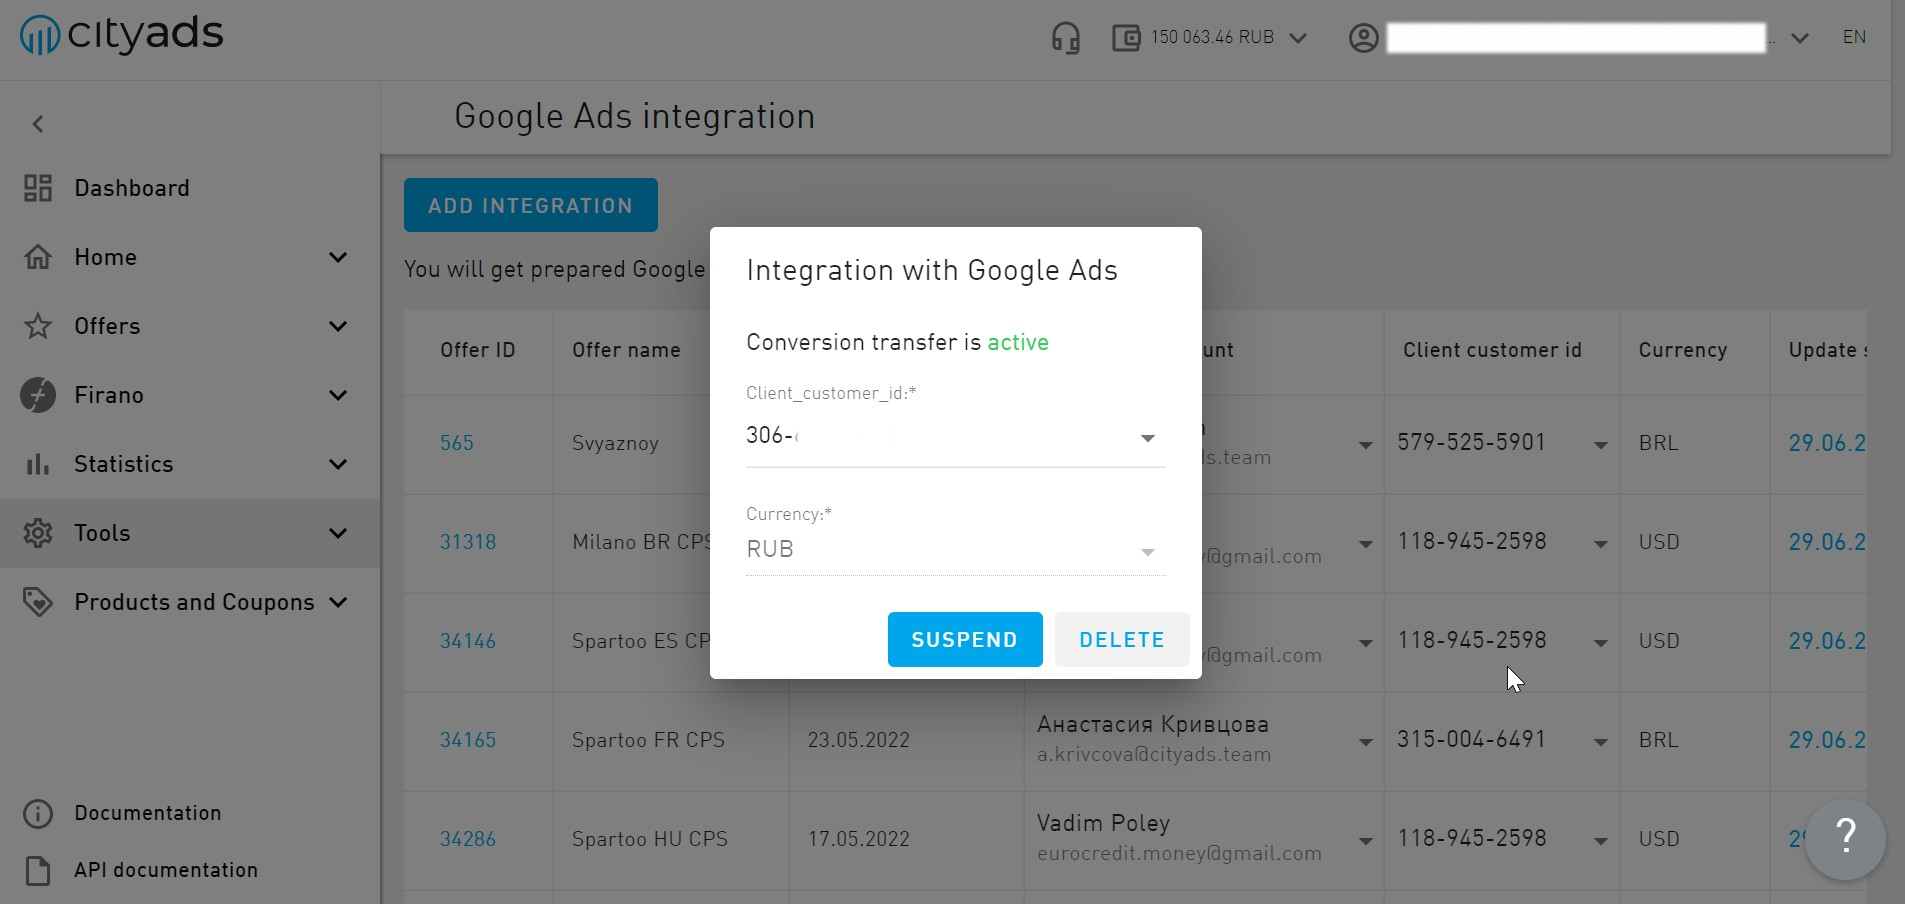
If it is completed you receive a message that the transfer of conversions is active, the Client_customer_Id of the assigned Google Ads account and the currency at which the conversions are calculated:
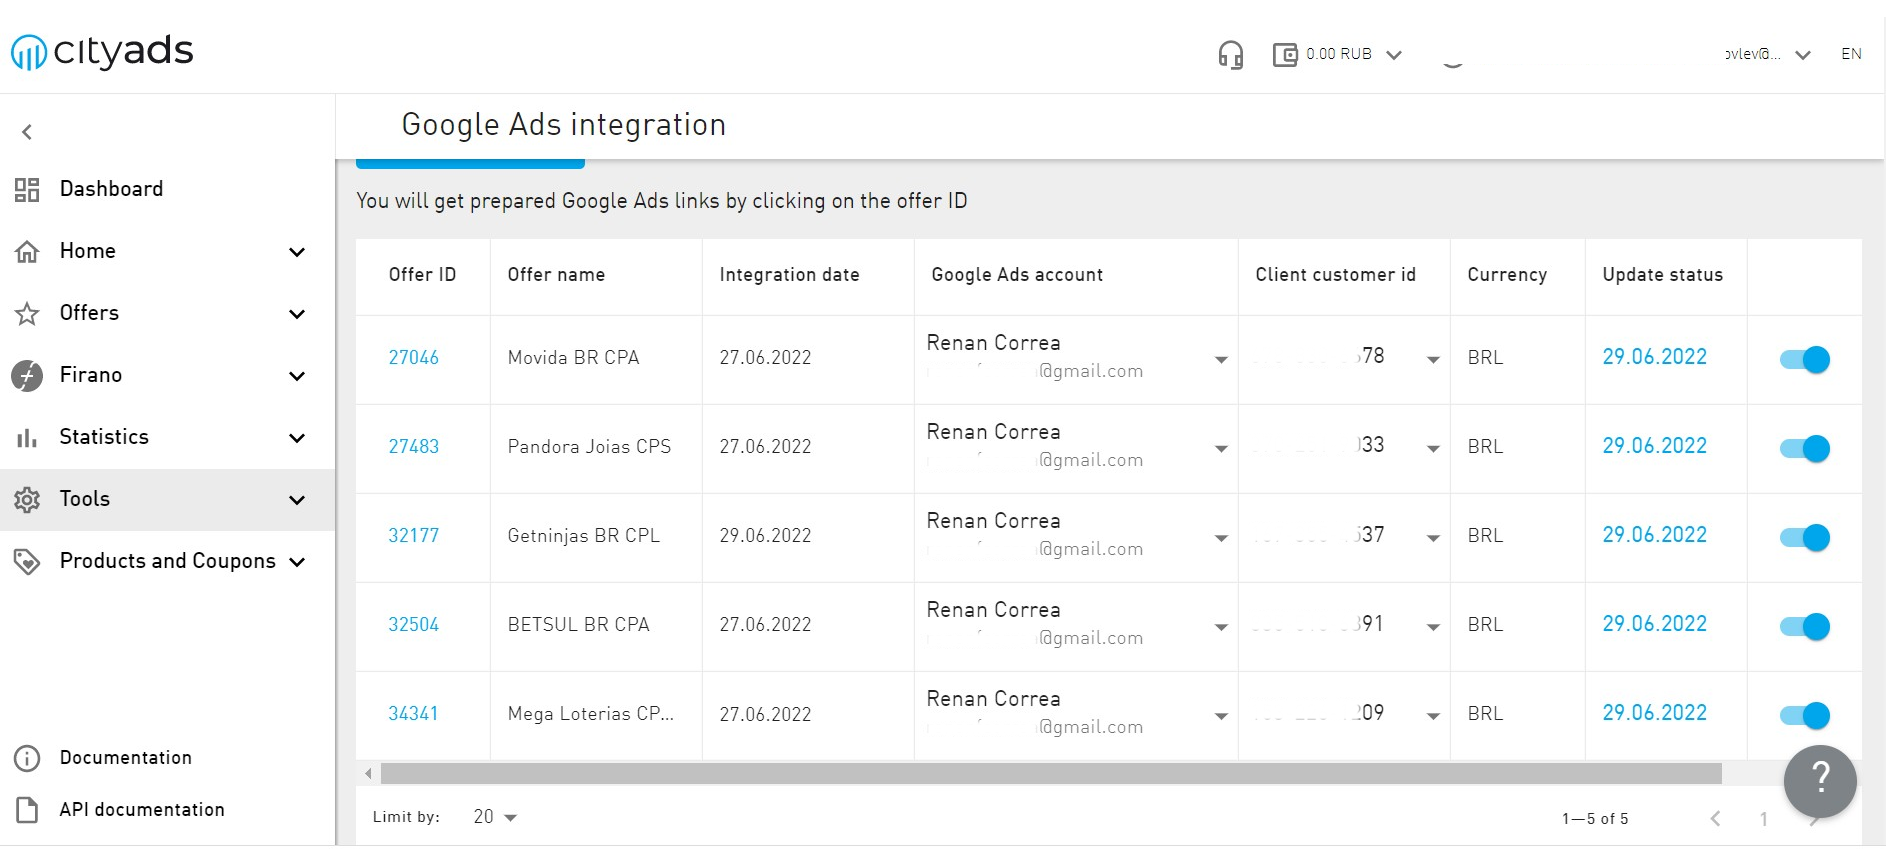
Step 4.
At a result, you have the table with all integrations and the information on them in your personal account. You can change or cancel any integration here; the connection is verified automatically once a day. If there are any problems, the Integration Suspended message will appear opposite the dropped down offer: